Building a Velomobile shell by using low cost Coroplast panels. This does four things. Number #1 It's less expensive than the hand made velomobiles from Europe.#2 You can try out to see in a inexpensive way if a velomobile is what you want. then if it is... you can make a better purchasing choice on a commercial built velomobile. #3 if you damage a coroplast panel, it can be easily, and inexpensively be replaced. #4 Speed... it's all about the speed. .
I've finally found some time to do another version (Yes I'm never happy with what I made earlier) Version #12 which I cut out and assembled last week had some problems I did not like. So back to the drawing board.
#13 is more car like, than the previous versions. I keep coming back to this type of body. It would be similar to the Challenger velomobile. It has more window area. Which can cause summer heating problems, but those can be overcome with more venting. The other thing I like about this velomobile body is that there is more room with the sloping front . I have a commercial built WAW velomobile which hugs your body very close. #13 velo is not as claustrophobic.
As each of these versions have evolved. I have found different ways of making the velomobile body easier. With my earlier designs I had the support frames with tabs that went through the bottom. And a few other parts that were way over in terms of strength, and complexity that were needed.
I have found that if the coroplast panels are formed in such a way as to bend the panels, and glued to each other. It makes a strong body. You do not need PVC pipes to make a frame to hold everything together. There is no extra weight from having PVC pipes. This coro body weighs in at 17 lbs.There are no flat areas on this velomobile body. All areas are curved. If you have flat areas on the coro body... in side winds they will flex.
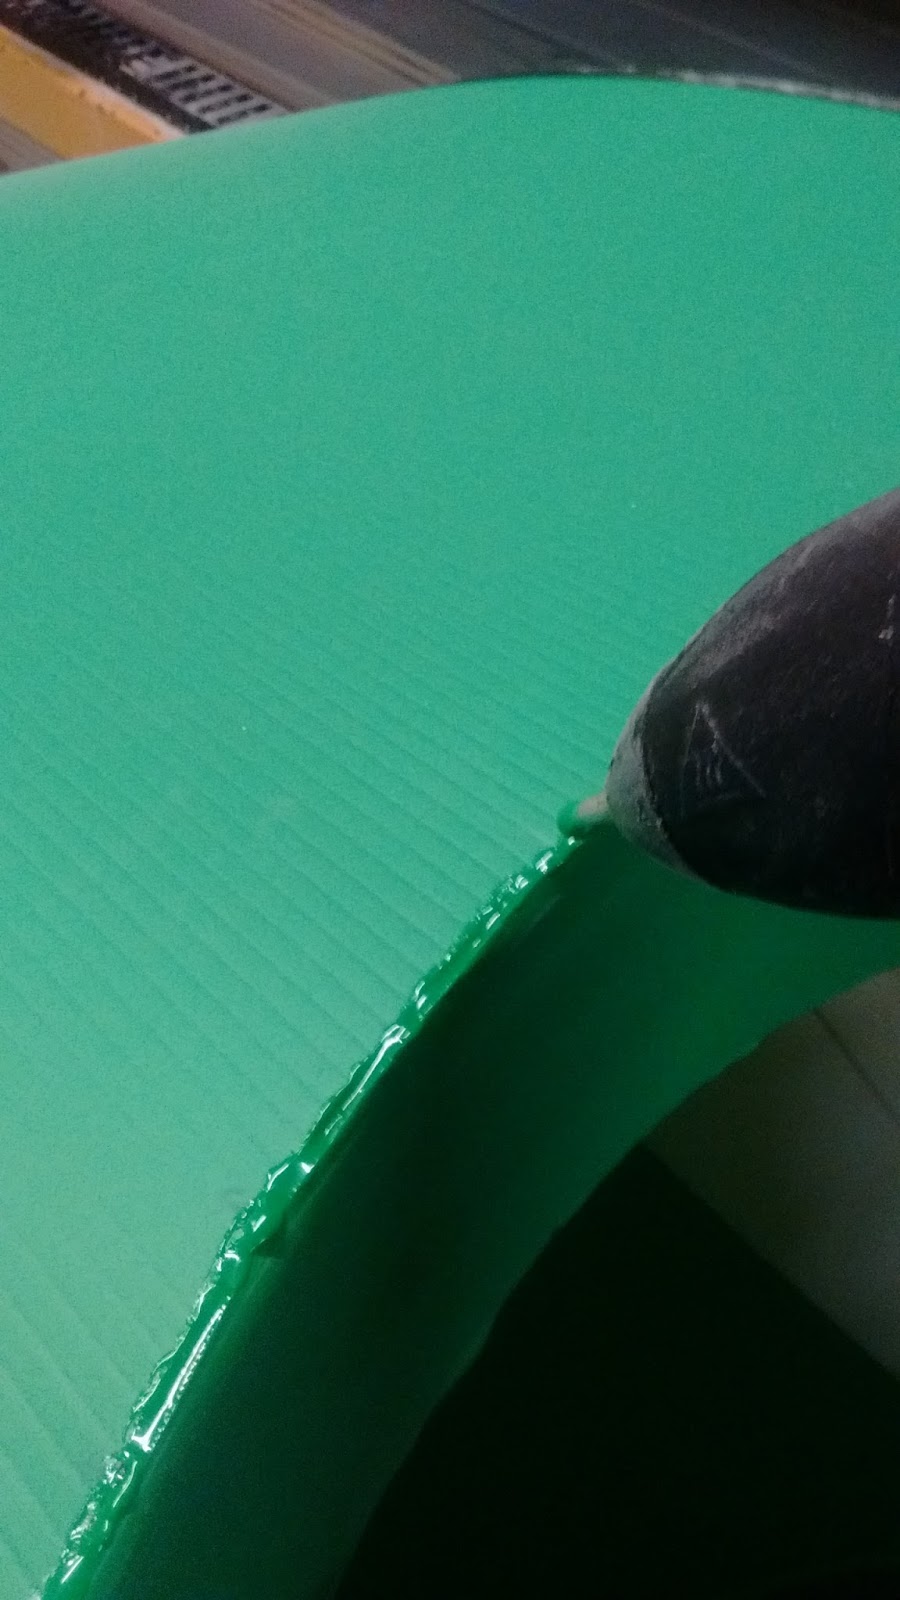
Adding a backer piece to the upper side panel. Since the part is over 8 feet in length I needed to add a section to the side. I just glued it in place with drops of super tack 500 hot glue for coroplast. I add a small drop every 1 inch or so. If I add to much glue it starts to melt into the outer edge of the coroplast. So smaller spaced closer is better.
Cleaning out the flutes that the CNC router did not remove for the lexan window that will go in. It's easier to do it now while it's easy to get to.
Adding a piece of duct tape to hold the top panel in place. I will remove it when I need to cut out the canopy.
Starting to tape up the upper side panels. Duct tape added every 4 inches or so holds everything together until I hot glue the inside edges.
A close up view of the front.
Top all taped up. I will add hot glue to the inside. and then when cool. Put on a 1 inch wide piece of duct tape to cover the glue beads.
working on the bottom sections. They are about the same design as earlier versions. 3 pieces of coroplast that are connected above the wheel wells.
Backing piece to hold the sections in place. A this point the whole part is flimsy so I have to be careful.
Adding a few pieces of duct tape before hot gluing.
This is a close up of the bottom panel where the foot holes are. I have glued on the front orange colored section then added a piece of duct tape. At this point I have taken some flexible 1/2 inch vinyl tape and wrapped over every area where the coroplast flutes are exposed. This prevents dirt and water from getting inside.
Taping up the bottom section to the sides. I will then add hot glue to the inside edges.
This makes it easier to work on the wheel wells.
Glue every 1/2 inch.
These are support pieces that are put in just behind the seat next to the sides. I pre glue them so they hold their shape. Then I install them.
Taping up the sides. Then gluing on the inside.
Cutting out the canopy.
Thursday, February 22, 2018
Version #11
It is angled down in the front so when the hatch is taken off you can get in and out of easier.
The
wheel cover on the back wheel prevents air from being blown into the
inside of the velomobile body. On the previous model it got quite cold
on the back of my neck from the wind that was produced by the rear wheel
spokes. Another nice thing about a wheel cover is it is more aerodynamic. I also made the hatch longer so I can stand up and not hit my
legs against the front of the opening. I also added some obnoxious pin stripping so I stand out even more in traffic.
July 2018
. This design will fit most low profile trikes with a 31" to 33" front track width, such as KMX, Gekko, Catrike expedition and ICE Sprint. The design works great. In comparison to commercial built velomobiles there is a average of 1 1/2 to 2 mph lower speed difference, because the front area of the coroplast velomobile is wider. But the commercial models cost around $8,000 to $11,000. So that's a good trade off. Below is a older screenshot of the CNC panels with the parts.
I did this velomobile build different than the previous builds. I used hot melt glue specifically for coroplast, I got the glue sticks (Super TAC 500) and glue gun I used duct tape only in areas where I had to, and pop rivets on the bottom panel/sides and frame parts.
I always start out by doing the head protector. I tape it in place for gluing. Once I get the top panel glued, I will slip this inside the top panel.
Adding the hot melt glue. One drop of glue every 1/2" to 1.00"
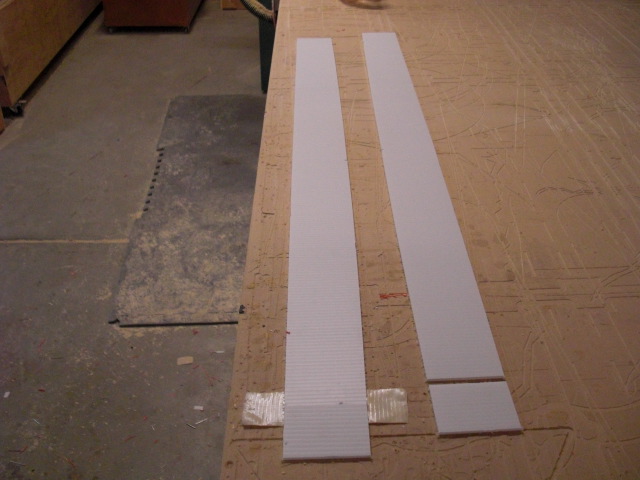
A small filler piece I needed to add to the end of the top panel. The top panel is about 4 inches longer than the coroplast sheet,
Stiffener for more rigid holding for the top wrap around parts.
Stiffener glued in. There is still enough flex for the coroplast to flex when connected to the lower green colored side panels.
I forgot to add this photo at the first of the build sequence. The small propane torch is used to quickly burn off the oil on the coroplast surface. The torch is barely on, because if its too hot the coroplast will melt. I had to practice a few times on scrap pieces of coroplast to do it right. But doing this pre treatment will make the hot melt glue that is added later so strong that the coroplast will rip before the glue does.
The top done. It has hot melt glue applied every 1/2". The head protecter is pushed into place then glued. This is one area where I will add some 1/2" wide duct tape.
The bottom panel with the frame members attached.
Close up view of the pop rivets.
Laying out the sides, before gluing.
A weak area that gets some inner support. Onece the bottom and top are attached it will be stronger.
Taping the bottom edge where the sides meet. The piece of coroplast that looks like a shark fin did not work out too well, so I eliminated it.
Finishing off the tail end of the bottom section.
Top stiffener. It goes just behind the head opening on the top panel. It is two pieces for extra strength.
Stiffener glued together then glued to the underside of the top panel.
Attaching the wheel wells. They will get glued on the inside edges.
Finishing up the top front part.
Lots of tape until the glue sets
Finished front part.
A side view of the taping process .
The next three photos shows the gluing process for the wheel wells. This hot melt green colored glue will not bond to coroplast. I use it in areas where I want to fill in the coroplast flutes.
A bit of colored hot melt glue for the nose area.
Cutting out the hatch. And getting it ready to add the coroplast pieces that will hold the hatch in place.
A close up of the hatch with the duct tape that covers the raw edge of the coroplast.
I have been working on this commuter model #11 on and off for the past 6 months. You can build a velo for speed such as my version #10. but you compromise in some areas. #11 addresses some of these issues, in favor of a more urban driving machine. Access is easier to get in and out of. the velo. The turning radius is tighter. And the speeds are slightly less. but still in the 20 plus mile per hour range. As for building it. Only the bottom section has aluminum pop rivets. The top sections are held together using a commercial hot melt glue for coroplast and a commercial glue gun. This has allowed tighter fitting panels with no need for tape. The body is incredible stiff. More to come in the future.
I have always been interested in efficient low cost personal transportation. . I have been interested in Velomobiles for some time, but the cost of even the lowest cost Velomobile is around $8000.00. So I started to design and make my own. Velo's have been popular in Europe for quite some time, but not so much in the U.S. But Velo's are starting to show up in greater numbers in America.
09/19/2016
I have over 2000 miles on version #9. I will be building version #10 as time permits this winter. I will incorporate charges that will make the velomobile faster.
09/05/2017
Number 10 is done. It has some modifications to the frame on the bottom. I used pop rivets with large flat washers to attach the supporting frame members. Originally I folded over the coroplast and duct tapped it to the panels. That contributed to aerodynamic drag. The body is longer and tapers to a point on the end. Which helps aerodynamics. And I raised the body so my head is less exposed to the wind. And that helps with the aerodynamics. Also I decreased the size of the cockpit opening.
I am presently on velo #10 which has all of the previous versions problems fixed. The previous versions had their problems. And one very dangerous one. I originally had a Terra Trike Tour as the trike of choice, but you sit higher in it, and the trike starts to wander all over the road after getting up to 25 m.p.h. So I bought a lower profile ICE Sprint FS Which has worked out much better. I have around 500 miles and been up to 50 m.p.h. and the trike tracks straight down the road, and more importantly when I apply the brakes, it stops straight with no wandering. I have recently added a small electric motor setup, which has helped to get up hills and across intersections faster. The top speed is the same as peddling so the motor does not need to be used once I'm up to cruising (21 m.p.h.) speed.
The video above was velo #6. It was not too bad, but there was room for improvement.
A video of version #9. This version rides great!!
The build process with photos for my latest version is below.
The head rest or turtle deck this is temporarily taped on the outside so the inside can get taped with 1" wide duct tape.
The front part of the head rest has slits cut into it on the inside. This allows the part to follow the cure of the other two parts.
Taping finished on the inside. I helps to use a good quality tape ether 3M or Duck Brand. The cheaper tapes do not have the better holding power.
A few 1" panel nails, that are inserted at a angle to hold the parts together. The panel nails have small serrations cut into the nail that allow it to grip the coroplast. I use these small nails in the areas of the velo shell that need more reinforcement until I can add the tape. the trick to getting them to work right is you need to push the nails at a angle that will go through the corrugations in the Coroplast.
The head rest taped with orange 1" sign tape which I got from Tape Brothers of Florida. It makes a nice finish. When I am doing curves with the tape I will cut halfway into the then fold it over. this will usually get rid of wrinkles on the tape. If you notice the small notices at the bottom of the head panel. this allows this part to be locked into the proper position on the deck at the back of the Velo shell.
The next 5 photos are the older wheel covers I made for version #9. I have since gone to full cover wheel pants. The down side is, the velomobile does not turn as sharp. But the benefits of full covers are higher speeds. Almost a 1//2 mile (.8 kilometer) speed increase.
Cleaning off the fuzzies from cutting. I find that a 80 grit piece of sandpaper on a wood block makes it fast to clean off all the loose pieces.
I add a few small pieces of duct tape to the outside, then I add a piece of duct tape ripped in half to the inside to hold the shape of the wheel disc.
I add a piece of 1inch sign tape to the outside.
I then add the center plug piece, and tape it in place on the inside.
I then cut out of sign tape 2 half circle pieces and tape them on the outside.
.
Cutting out the foot cover panels after machining. They will be reinstalled later with some extra parts so they can be used when it's cold outside. This will prevent colder air from getting inside the velo shell.
The removable rear wheel cover being built. after its taped together. Notice the duct taped edges on the front and inside the rear wheel hole? That keeps out road grim from getting into the coroplast channels.
Temporary tape holding the part until the inside tape is installed. Once the inside is taped, ,Ill replace the outside tape with some nicer 1" sign tape
The inside of the removable wheel well. I will take some 6 to 18" tape and tear it in half and apply it to the inside of the panels.
Sign tape (1" wide) being installed.
The bottom support frame. The next 4 photos show how I did previous versions. Doing it this way actually caused more aerodynamic drag . I now use pop rivets and fender washers for a flat finish. And it looks better too.
The bottom support frame tabs being installed. First I lay a 3-4" piece of tape down then fold over the tabs. Then fold the tape over the tabs.
The center frame. This must go in with the holes to the front of the velo, so the support part that connects to the trike boom can be riveted to the center frame. If it get put in backwards I have to pull it apart and reinstall it. Been there done that :(
All taped up. Old way.
All pop riveted up new way. Much better.
I installed the1" sign tape on the edges of the side panels starting at the top of the back and working forward along the bottom of the sides including the wheel wells, so it covers the coroplast raw edge, and allows the taping of areas further along in the building process.
For curved areas I centered the tape, then cut every 1" to 1 1/2" on both sides then fold over.
Taping up the bottom side edge.
Attaching the front panel and the side piece with some1" wide duct tape on both sides
At this area after the velo shell is taped up on the inside also. I will remove the out side portion of the duct tape later on in the building process, and replace with some sign tape.
When all 3 panels are connected the part is 17' long so the taped area over by the wheel wells needs to hold it together. It's really floppy at this point.
Attaching the rear panel with aluminum rivets and stainless washers.
This is why taping the edge first is important. The aluminum rivets will be on part of the taped area.
When I get to this point the body is pretty flimsy. so another person can be helpful. But I just add supports to the sides until it is connected.
Dropping the bottom part in.
This is a important area. If not done correctly, it will be a problem further in the building process. I carefully get the edges to line up in the wheel well than add pop rivets, then work out both directions.
I will add some temporary tape to get the parts level with each other, then add the rivets.
All riveted up.
A close up of one of the sides with the taped edge.
Working on the top section. Basically I start pulling the edges together with small tape pieces, then add some 1" wide duct tape to finish holding. Note: I just rip a 6-12" section of2" duct tape in half. Using 2" wide tape looks uglier because of the curve, and 1" tape holds just as well.
I add some 1" panel nails at this area to help hold the parts together.
The inside of the lid. All done with 1" duct tape.
I cut out the hatch area and added sign tape to the raw edges.
Attaching the white inner lid panels to keep the hatch in place. They also get tapped over the raw edge with 1" wide tape before riveting in place. Also they only get duct tape because the lid will protect the duct tape from U.V. damage,
The clips that help hold the cover in place. These are folded over then a pop rivet with a stainless steel washer is pushed in from the outside.
The inside of the lid area all completed..
Side support pieces. These are attached to the sides just behind the seat area. I have a piece of 5/16" diameter all thread that will connect to the trike frame and then connect to these parts. I used all thread because the ICE trike has a prefect connection point on the trike frame for it. And the threads hold the zip ties from slipping when they are attached to the side support pieces.
The supports that will go under the cruciform and wheel area and at the area behind the seat..
Adding a small piece to the wheel well cover. Coroplast is only 48 inches wide, and I need a extra 3 inches.
Marking out the location of the wheel well parts. There is a small curve that follows the curve on the sides. So it's important to get these parts in the right spot.
Adding slits every 3-4". The slit are cut through one side only.
Doing the slits on the one side allows the Coroplast to form a curve better.
Taping up the bottom area in the photo above I first apply tape the bottom of the wheel well to the base panel. then I attached some 1" or so pieces of duct tape every 4 to 6" temporally to the wheel well. this will keep the part in place so I can add the permanent 1" duct tape to the inside area of the wheel well where it connects to the sides.
I added 1" wide pieces of duct tape no more than 3" long to the inside area.
The inside wheel well. It is 2 pieces because it makes it easier to put one half against the steering and cut it out. Then the other piece is slid in to get marked and cut out. After making sure the steering clears the coroplast. I tape the 2 pieces together in the center, along the bottom, and along the curved edge.
Cut out for the steering. It's important to note that I have 8 blocks of 4 1/2" tall wood blocks under the frame this point in the building process to prevent the frame from sagging. I also needed to take in to account the trike frame lowering when you sit in the trike. I didn't to that in previous versions and the tires rubbed when hitting bumps.
Riveting in the frame supports. There's not too much room for the rivet gun. So I do the 2 front rivets from the inside as shown in the photo. And the back 2 rivets are connected from under the bottom.
Zip ties hold the shell up. because of the light weight of the shell, everything hangs from the frame.
Attaching the boom holder/gusset pieces to the frame. I used 3 rivets that align with the holes in the center frame support.
Long nose vise grips loosely attach to the rivets helped in tight areas.
All connected
Adding the side supports. The all thread is just in there temporarily to help locate the side support piece
Getting the side supports vertical with a bubble level.
The ICE Sprint has a small extra hole going horizontal just below the upper seat clamp. I got a piece of 10 inch long by 5/16 inch all thread and slid it into place. and tightened down the 2 Allen head screws. Then it was a simple matter of attaching 2 zip ties to the all tread. And then I attached the rear center support, which is made up of 3 pieces taped together. If this was another type of trike, I would have needed to figure out another way to connect the coroplast to the trike frame.
Another view of the rear frame connection.
The T post front support. The longer piece is folded into a rectangle, and three pieces of tape are used to hold the shape. Then the smaller piece is spaced evenly on one end, and taped in place.
The finished T post will then be inserted between the 2 coroplast gussets below the front crank.
Attaching the T post support piece. the lid is put on temporally to help located the right angle for the support.
Attaching 2 rivets to the bottom of the front lid support.
Attaching a zip tie to hold the support in place.
Adding temporary tape before taping on the inside.
In this photo of the wheel well above. The side was sagging so before I riveted in the support on the inside of the wheel well I propped up the wheel well.
The small white coroplast parts above are to connect the cockpit area with the panel above the rear wheel. In earlier versions this part would not stay flat, so a small support piece under the panels with some pop rivets solved this problem.
1/8" pop rivets to hold the two sections in place. There is also a piece of tape put on before riveting, to cover the seam between the 2 coroplast sections.
The underside view showing the rivets that stiffen up the sides and top.
The head rest is slipped into place and then I tape it with some 1" sign tape.
This is one of two foot hole covers. These keep cold air from coming inside the velo shell. They a made from 3 separate parts. I first covered the edges with strips of white duct tape that I ripped into thirds then folded over on the edges. The taped edges prevent road grime from getting into the coroplast channels. I then pop riveted at the top and bottoms. I then added duct tape ripped in half to the sides on both the top and bottom edges.
I added a homemade turn signal setup.
I will add more photos to clarify the construction process later. This version took me around 2 -3 hours to C.N.C. machine the parts and about 16 hours to assemble.Hey this was versoin #9 so I got faster. As for how much faster I can ride this velomobile. I typically rode the ICE trike without a velo shell on flat ground 12-14 m.p.h. With the velo shell my speeds are 19-21 m.p.h. As for down hill speeds I limit myself to 50 m.p.h. The coroplast body only weighs 15 lbs. And the ICE Sprint trike weighs 37 lbs. Along with my small motor setup the total weight is around 70 lbs.
01/14/2017
I wanted to write more on the motor setup. Some other people think it's wrong to have a electric motor setup on these speed machines. If I was racing then I would agree. But for everyday travel, having a small geared motor set up makes a velomobile the most efficient from of travel. Using the aerodynamics of the coroplast shell reduces the amount of power needed to HELP propel the velomobile. And I mean help. If I was not peddling with the use of the motor. I could get around 15 to 20 miles before running out of battery power. As it is I can go all day without charging the battery. And this battery and motor setup is now 4 years old, and has over 3000 + miles.I know it's more but I never kept accurate mileage until version #6 velomobile. I got my set up from this company in California Go carlite
The motor is tiny. It's only 5 inches wide. but it's also geared. So going up steep hills does not overheat the motor. The battery is a 48 volt lithium. And to fully charge it after a long days ride amounts to 5 cents in cost.
Adding a hood for cold weather riding.
I'm still undecided on the total benefits of having a hood. Not having cold air hit your head and ears is a plus. Along with protection from rain. But I'm not as aware of cars behind me with my head being enclosed.
Taping up the inside after cutting out the hood.
Hood with plexiglass installed. If you notice the small slot below the front windshield panel. It serves a important purpose. I still have the small summer windshield inside. It sits about 1/2" (12mm) behind the slot. When the velomobile is moving air is forced through the slot hits the smaller windshield and is forced up against the inside of the inside surface of the larger windshield. This removes any moisture, or fogging from the windshield.
In this morning's ride it was below freezing. And I was producing a lot of heat, and moisture from my breath. There was no fogging while moving. I purposely fogged the inside of the windshield with my breath to see how quickly it cleared out. The fogging was gone in a few seconds. I still need to drop the hood another 3" (75mm) and reduce the amount of glass in height. Or maybe not. I get a good view of the sky and have a 180 degree view... so we'll see,
A few photos with the hood on.
I lowered the front part of the hood. This put my face closer to the windshield. But there is no fogging on the inside. The lower profile of the hood makes the velomobile look like a 50's hot rod.